
Relief printing is a fascinating artistic technique that has been practiced for centuries. It involves creating a print by carving away the negative space from a block, leaving the raised areas to be inked and transferred onto paper or another surface. This method allows for intricate and detailed designs to be reproduced with precision and clarity. In this article, we will explore the step-by-step process of how a relief print is made, from the initial design to the final print.
- Design and Preparation:
The first step in relief printing is to create a design. Artists can choose to draw their design directly onto the block or create a separate drawing that is then transferred onto the block. The block can be made from various materials such as wood, linoleum, or even metal. Once the design is finalized, the block is prepared by sanding and smoothing its surface, ensuring that it is free from any imperfections that could affect the print quality. - Carving the Block:
With the design in place, the next step is to carve the block. This requires specialized tools such as gouges and knives. The artist carefully removes the negative space around the design, leaving the raised areas intact. This process demands precision and skill, as any mistakes made during carving cannot be undone. Artists often use different carving techniques to achieve varying depths and textures, adding dimension to their prints. - Inking the Block:
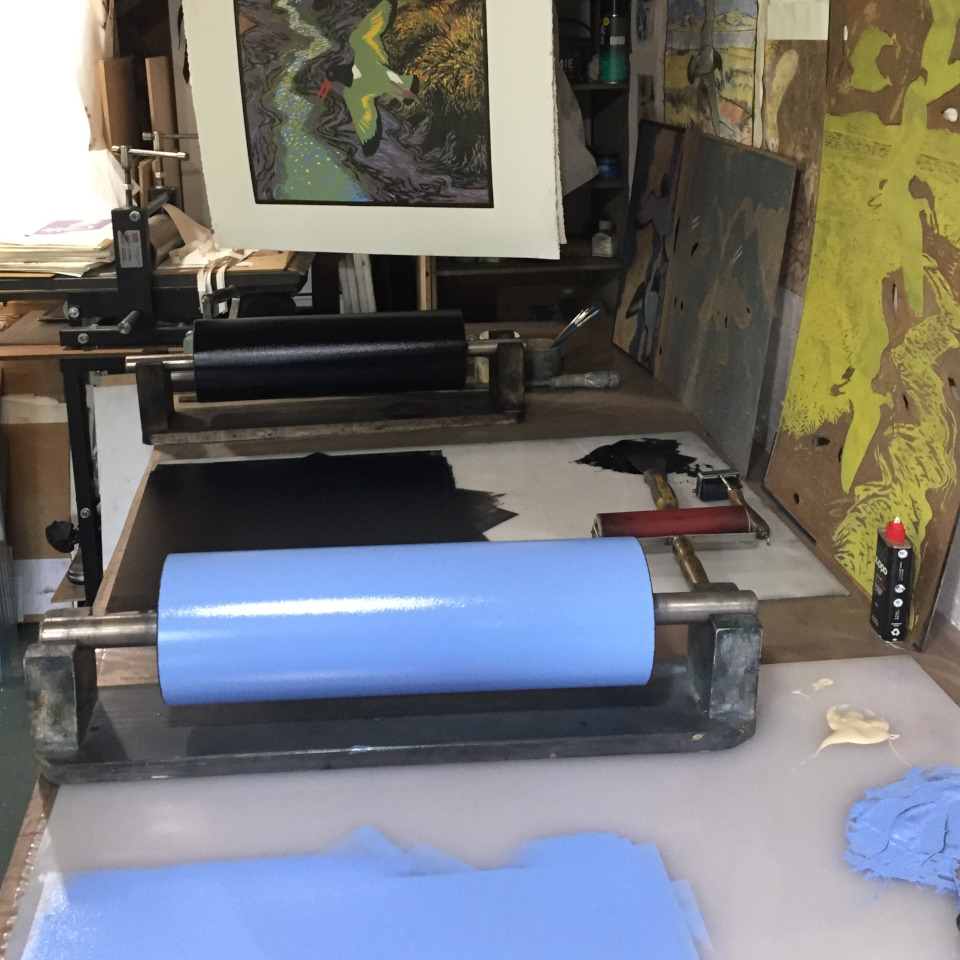
Once the block is carved, it is time to ink it. Relief printing traditionally uses oil-based inks, which provide vibrant and long-lasting colors. The ink is applied to the raised surface of the block using a brayer, a roller specifically designed for printmaking. The artist ensures that the ink is evenly distributed, covering the entire design. - Transferring the Image:
With the block fully inked, it is ready to be transferred onto the printing surface. A sheet of paper or another material is carefully placed on top of the block, and pressure is applied using a printing press or by hand. The inked design is transferred onto the paper, resulting in a mirror image of the original design. The pressure applied determines the intensity of the print, allowing artists to experiment with different effects. - Final Touches and Editioning:
Once the print is made, artists often make final touches by hand, adding details or embellishments. This personal touch adds uniqueness to each print, making them one-of-a-kind. Artists may also choose to create multiple prints from the same block, known as an edition. Each print in the edition is numbered and signed by the artist, ensuring its authenticity and value.
In conclusion, relief printing is a meticulous and captivating art form that requires both technical skill and artistic vision. From the initial design to the final print, every step in the process contributes to the creation of a unique and visually striking artwork. Whether you are a seasoned printmaker or a curious beginner, exploring the world of relief printing can open up a world of creative possibilities.