
When it comes to enhancing the aesthetics and durability of interior or exterior walls, PVC cladding is a popular choice among homeowners and professionals alike. This versatile material offers a range of benefits, including easy installation, low maintenance, and excellent resistance to moisture and impact. In this comprehensive guide, we will delve into the intricacies of attaching PVC cladding to walls, providing you with step-by-step instructions and expert tips to ensure a successful installation.
Section 1: Understanding PVC Cladding
1.1 What is PVC Cladding?
1.2 Benefits of PVC Cladding
1.3 Types of PVC Cladding
1.4 Choosing the Right PVC Cladding for Your Project
Section 2: Preparing for Installation
2.1 Tools and Materials Required
2.2 Assessing the Wall Surface
2.3 Surface Preparation
2.4 Measuring and Calculating Cladding Requirements
Section 3: Installation Process
3.1 Step 1: Installing Starter Trim
3.2 Step 2: Fitting the First Cladding Panel
3.3 Step 3: Joining Cladding Panels
3.4 Step 4: Cutting and Trimming Cladding
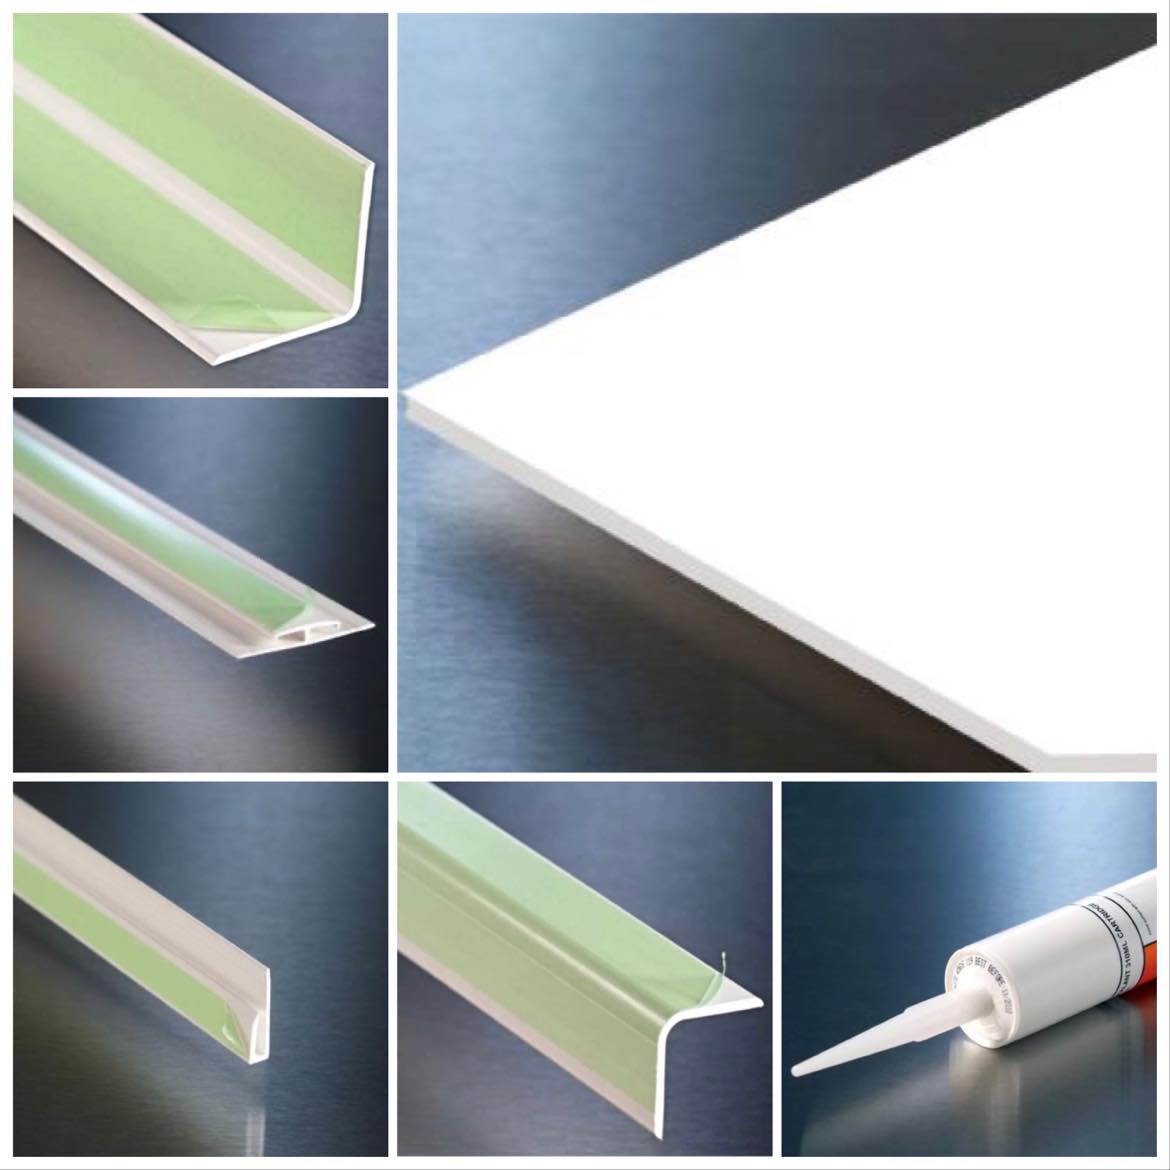
3.5 Step 5: Installing Corner Trims
3.6 Step 6: Adding Finishing Touches
Section 4: Tips for a Successful Installation
4.1 Ensuring Proper Ventilation
4.2 Dealing with Uneven Walls
4.3 Addressing Potential Moisture Issues
4.4 Maintaining and Cleaning PVC Cladding
Conclusion:
Attaching PVC cladding to walls is a skill that can transform the appearance and functionality of any space. By following the steps outlined in this comprehensive guide, you can achieve a professional and long-lasting installation. Remember to choose the right type of PVC cladding, prepare the wall surface adequately, and follow best practices throughout the installation process. With proper care and maintenance, your PVC cladding will continue to enhance your walls for years to come.